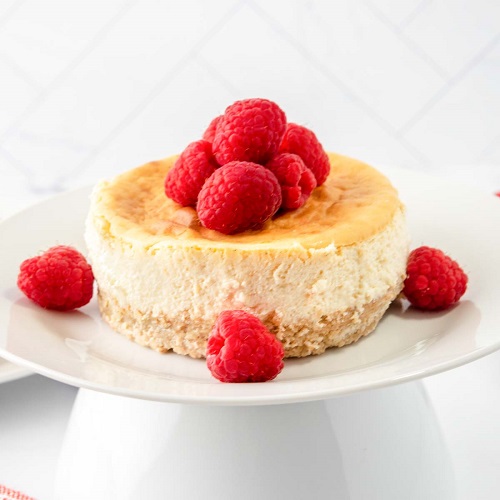
Indulging our furry friends with homemade treats is a joy for every pet owner. If you’re looking to spoil your pup with a delectable dessert, why not try your hand at crafting a canine-friendly cheesecake? In this guide, we’ll delve into a delightful recipe that not only caters to your dog’s taste buds but also ensures a healthy and safe indulgence. Let’s embark on this culinary adventure with a focus on the key ingredients that make this cheesecake tail-waggingly good.
Ingredients Unleashed:
The foundation of any great recipe lies in its ingredients. For our doggy cheesecake, the crust is a fusion of nutritious elements. Gather ¾ cup of Old Fashioned Oats, ¼ cup of shredded unsweetened coconut, 1 egg, 1 tablespoon of melted coconut oil, ½ teaspoon of honey, and ½ teaspoon of ground cinnamon. This wholesome combination sets the stage for a crunchy base that your canine companion will adore.
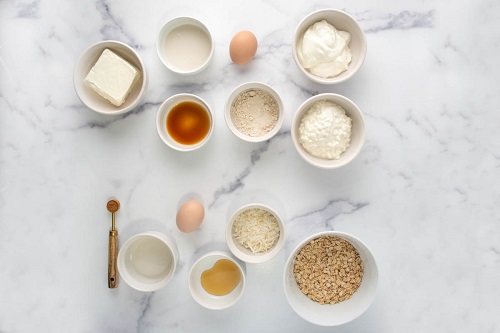
The heart of the cheesecake comprises ½ cup of Cottage Cheese, 4 ounces of Cream Cheese, ½ cup of Plain Greek Yogurt, 1 Egg, 1½ teaspoons of alcohol-free Vanilla Flavor, 1½ tablespoons of Coconut Milk, and 1½ tablespoons of Oat Flour. These ingredients come together to create a creamy and canine-safe filling, making this treat a paw-licking success.
Crafting Canine Delight:
Now that we have our ingredients ready, let’s dive into the culinary process. Preheat your oven to 350°F and embark on creating the crust. Utilize a food processor or blender to transform the oats into a coarse powder. Add shredded coconut, coconut oil, egg, cinnamon, and honey to the mix, blending until a uniform texture is achieved. Divide the crust into two parts and press them into mini 4-inch springform pans or a muffin tin. Bake for 8 minutes, then allow the crusts to cool on a wire rack.
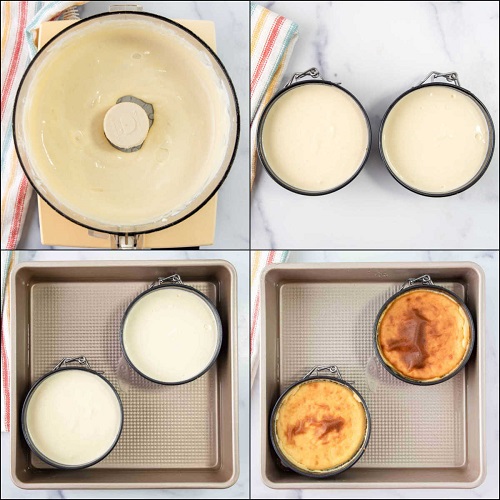
Transitioning to the cheesecake filling, blend cottage cheese until smooth in a food processor. Add cream cheese, yogurt, egg, vanilla, coconut milk, and oat flour, blending until a velvety consistency is achieved. Divide the mixture into two and pour it over the cooled crusts. Place the pans in a larger baking pan with ½ inch of water in the bottom to ensure even baking. Bake for 50 minutes, then let the cheesecakes cool in the turned-off oven. Once cooled, remove them from the pans and refrigerate.
The Final Touch:
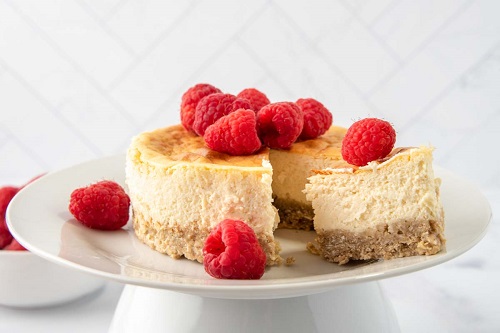
The crowning glory of this canine cheesecake is the choice of berries as a topping. Whether it’s blueberries, strawberries, or raspberries, let your creativity shine. The burst of color not only enhances visual appeal but also adds a dose of antioxidants, making this treat both delicious and nutritious for your furry friend.
Treating your dog to a homemade cheesecake is a delightful endeavor that blends culinary creativity with love for your pet. With a careful selection of dog-safe ingredients and a step-by-step guide, you can whip up a canine confection that will have tails wagging in excitement. So, gather your ingredients, preheat that oven, and embark on a baking adventure that will undoubtedly strengthen the bond between you and your four-legged companion.
