In the realm of homemade delights, crafting your own yogurt is both a science and an art. If you’re an Instant Pot enthusiast, this journey becomes even more thrilling. Harnessing the power of your trusty Instant Pot, a trivet, and a stainless steel container, you can create velvety, indulgent yogurt right in your own kitchen. So, grab your ingredients – 4 cups of pasteurized whole milk and a tablespoon of plain whole milk yogurt with active cultures or a yogurt starter – and let’s dive into the fascinating world of Instant Pot yogurt making.
The Foundation: Setting the Stage for Yogurt Excellence
Before you embark on your yogurt-making odyssey, ensure your Instant Pot is spotless. Cleanse the steel insert, sealing ring, and lid, eliminating any traces of previous culinary adventures. Retrieve your yogurt starter from the fridge, ready for its crucial role. Now, let the magic commence.
Milk Matters: The Boiling and Cooling Dance
Pour your milk into the Instant Pot and initiate the boiling process. Utilize the “yogurt” button, adjusting until it displays “BOIL.” Heating the milk to a precise 180°F (82°C) may take between 30-40 minutes, but the result is worth the patience. For the pot-in-pot method, position a trivet in the pot, pour in a cup of water, and place your milk-filled stainless steel bowl atop. After a quick steam session, confirm the milk’s temperature surpasses 180°F.
Next, the cooling phase commences. Let the milk gracefully descend to 110-115°F (43-46°C), which should take approximately 45 minutes to an hour. For expedited cooling, an ice water bath works wonders. Don’t let the temperature drop below 110°F; a digital thermometer or a touch test (feeling lukewarm) can confirm the ideal range.
The Alchemy of Yogurt: Mixing and Incubating
With your milk primed, skim off any thin film of fat for a silkier texture, if desired. In a separate bowl, blend your yogurt starter with ¼ cup of warm milk until smooth. Merge this mixture with the remaining milk, whisking until harmoniously combined. Return the concoction to the Instant Pot, sealing it within. Opt for the yogurt setting, adjusting the timer to 8 hours. This incubation period allows the cultures to work their magic, transforming milk into glorious yogurt.
The Grand Finale: Refrigeration and Indulgence
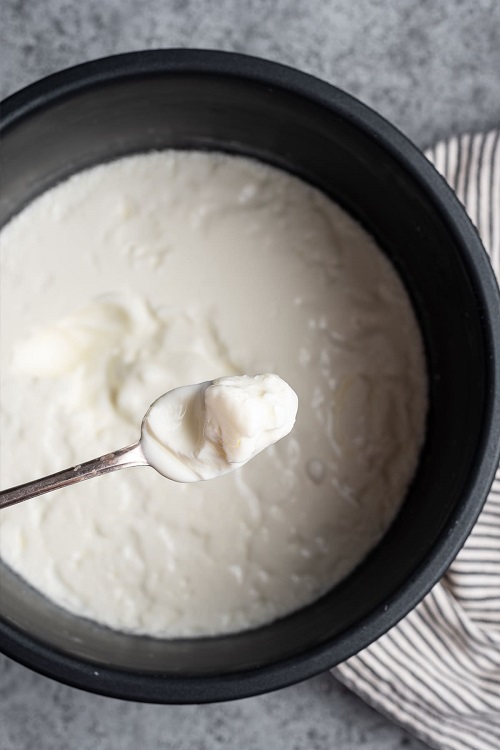
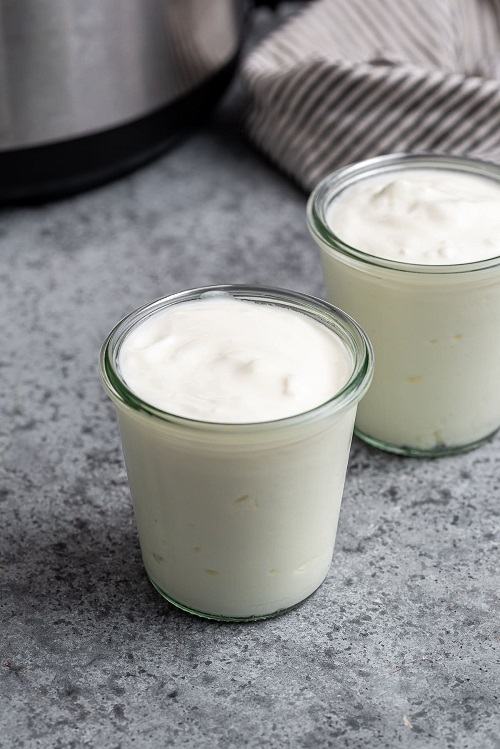
As the timer melodically beeps, unveil your creation. Remove the bowl or steel insert, gently pat it dry, and cover it with a snug lid or plastic wrap. Into the refrigerator it goes, chilling for 6-8 hours, enhancing its flavors and texture.
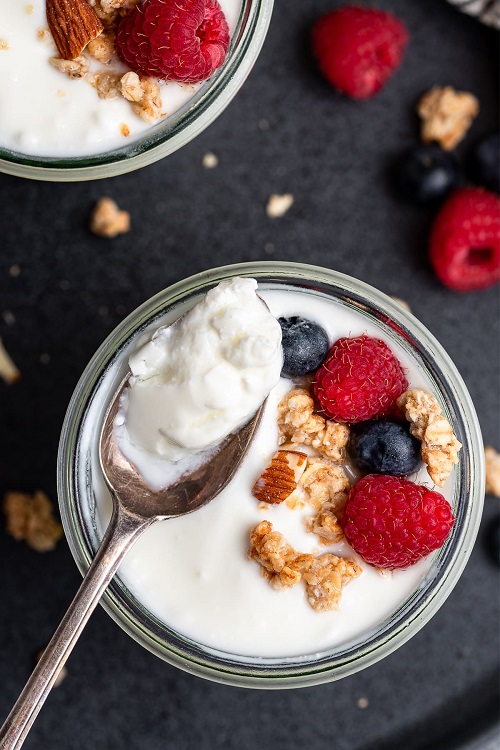
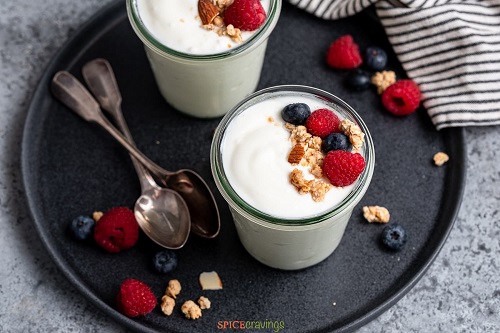
Congratulations! You’ve successfully mastered the art of Instant Pot yogurt making. Your efforts have culminated in a creamy, delightful treat, ready to grace your breakfast table, enrich smoothies, or stand tall on its own. Enjoy the fruits of your labor and savor each spoonful of your homemade masterpiece.