Indulging in a delectable dessert doesn’t always require turning on the oven. Enter the world of No-Bake Cheesecake Jars – a delightful concoction that blends convenience with the rich, creamy goodness of traditional cheesecake. In this guide, we’ll explore the art of creating these heavenly treats, offering a step-by-step walkthrough from crust to topping. Whether you’re a seasoned dessert enthusiast or a kitchen novice, these No-Bake Cheesecake Jars are bound to become a cherished addition to your repertoire.
1. Crafting the Foundation: The Crust
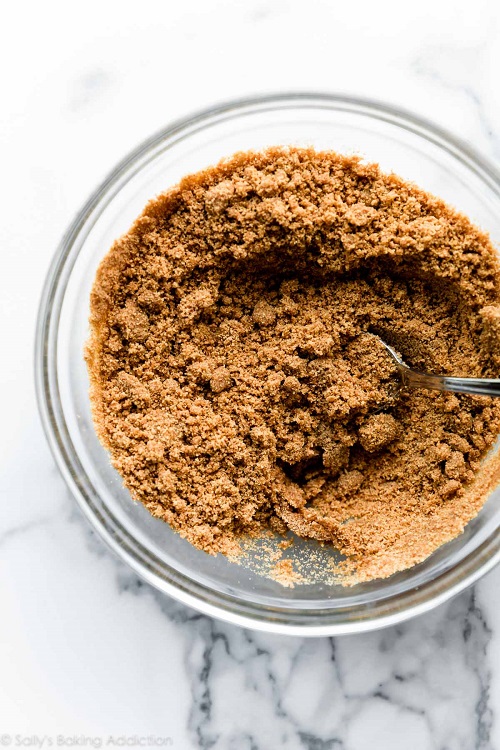
Creating the perfect base for your No-Bake Cheesecake Jars begins with a simple yet crucial step – the crust. Start by melting 2 tablespoons of unsalted butter, then stir in 1 cup of graham cracker crumbs until the mixture resembles wet sand. With your jars at the ready, spoon a generous amount of the crust into each, ensuring a solid foundation for the layers to come. Whether you opt for 8-ounce or 6-ounce jars, this initial step sets the stage for the symphony of flavors that follows.
2. Whipping Up the Filling
The heart of any cheesecake lies in its filling, and this No-Bake version is no exception. Using either a hand mixer or a stand mixer, whip 1 cup of cold heavy cream into stiff peaks. In a separate bowl, combine 8 ounces of softened cream cheese, 1/3 cup of granulated sugar, 2 tablespoons of sour cream, 1 teaspoon of lemon juice, and 1/2 teaspoon of pure vanilla extract. Beat these ingredients until the mixture achieves a smooth and creamy consistency, ensuring no unwelcome lumps of cream cheese linger. Now, with a gentle touch, fold the whipped cream into the cheesecake filling, preserving the airiness that will define the texture of your dessert.
3. Layering with Precision
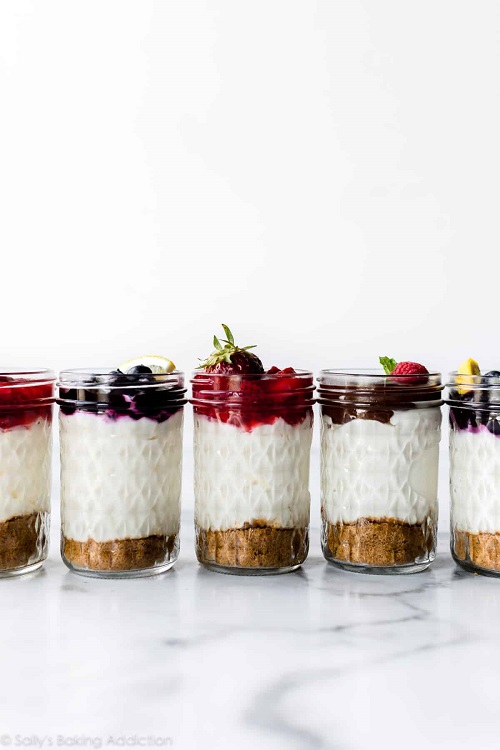
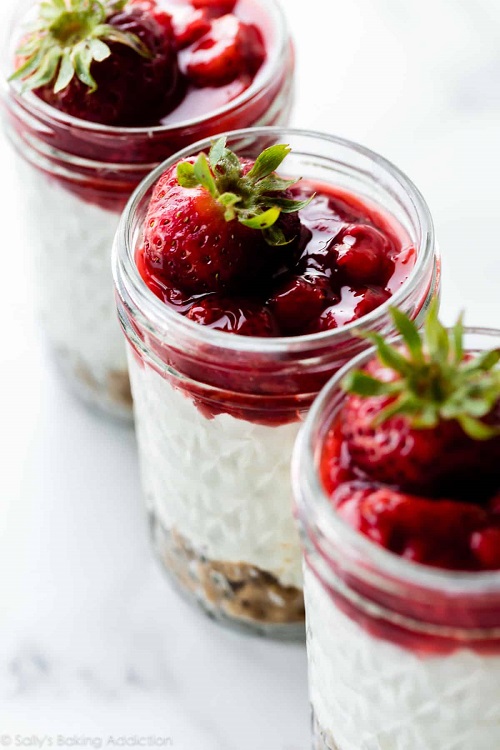
With the crust and filling prepared, it’s time to assemble your No-Bake Cheesecake Jars. Spoon a couple of large dollops of filling onto the crust in each jar, adjusting the quantity based on the jar size. Be mindful to leave ample space for the pièce de résistance – the topping. While the cheesecake jars are initially at room temperature, the option to chill for at least 30 minutes up to 3 days exists for those who prefer a cooler serving. However, it’s recommended to add the topping shortly before serving to prevent it from seeping into the layers below.
4. Tantalizing Toppings and Garnishes
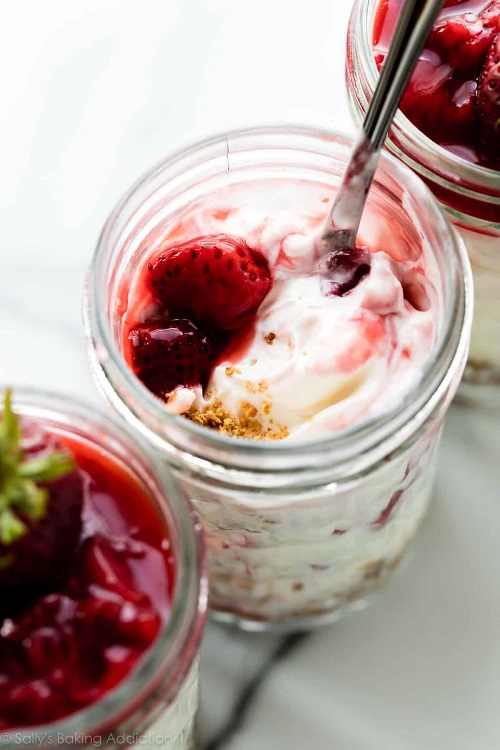
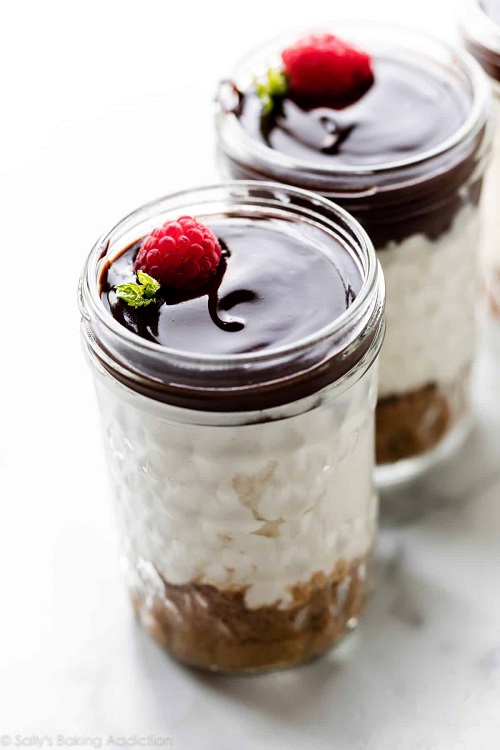
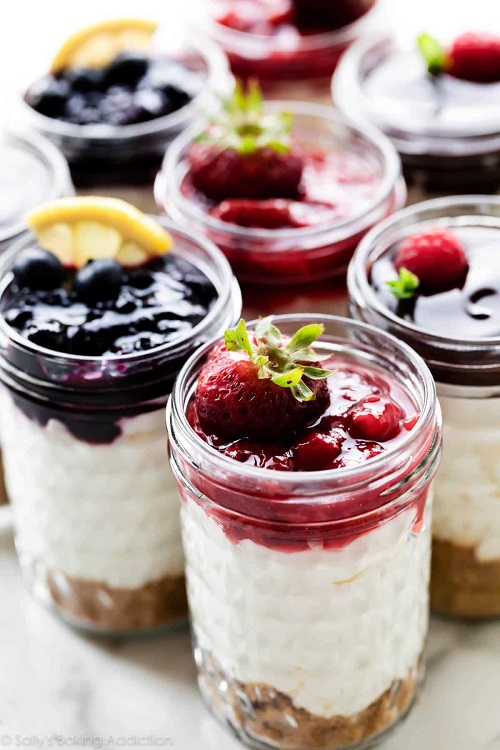
The final act in this culinary symphony involves the crowning glory – the toppings. Let your creative instincts take over as you spoon your chosen topping onto the luscious filling. Berries, chocolate shavings, or a drizzle of caramel – the possibilities are as endless as your imagination. Remember, the key is to add the topping just before serving or within 2 hours to maintain the integrity of each layer.
5. Savory Satisfaction: Storing and Serving
Once your No-Bake Cheesecake Jars have dazzled the taste buds, the question arises of what to do with any remaining portions. Fear not – these delectable delights can be stored in the refrigerator for up to 5 days, maintaining their irresistible allure. Cover them securely to preserve freshness, ensuring that every jar you retrieve from the fridge delivers the same delightful experience as the first.
Crafting No-Bake Cheesecake Jars is a journey into the world of sweet indulgence without the fuss of baking. From the buttery graham cracker crust to the airy cream cheese filling and the personalized toppings, every step contributes to a symphony of flavors. Whether you’re a dessert aficionado or a novice in the kitchen, these jars promise a delightful experience. So, gather your jars, embrace the joy of creation, and savor the sweet rewards of your culinary prowess.